


Travis Bean Bass with a Fretboard Problem!
Travis Bean Bass with a Fretboard Problem!
This Travis Bean bass was brought in by a regular customer. A poor quality repair had been carried out on the instrument rendering it next to useless. The rosewood fingerboard had become partially detached from it’s aluminium deck and someone had optimistically squirted superglue into the gap, more in blind hope than anything else…the result was a disaster… The fingerboard was now like a roller coaster, the bass wouldn’t play and it needed fixed. My product design training comes into it’s own in the workshop quite often. I am able to get to the root of the issue …by working out what the fundamental cause of the problem is…then by reverse engineering practice or just my 40 years of experience…I’m able to repair the job properly. We like challenging jobs here…
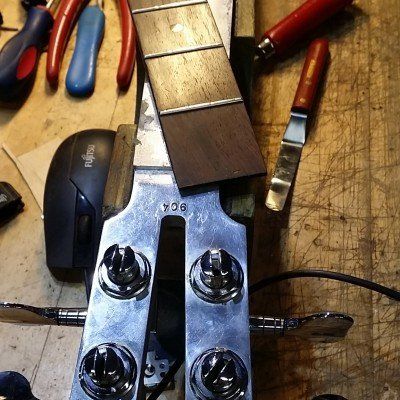
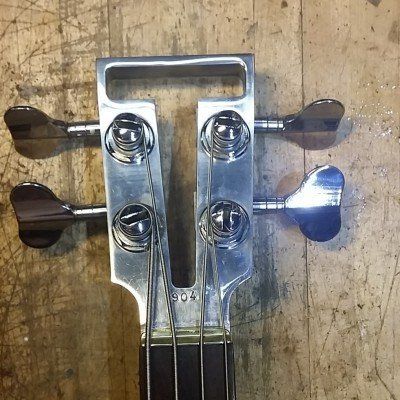
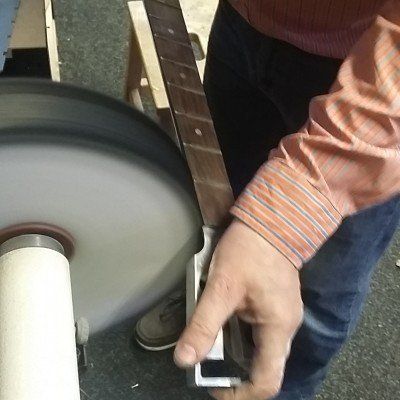
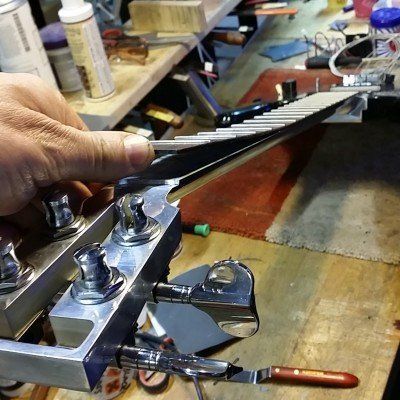
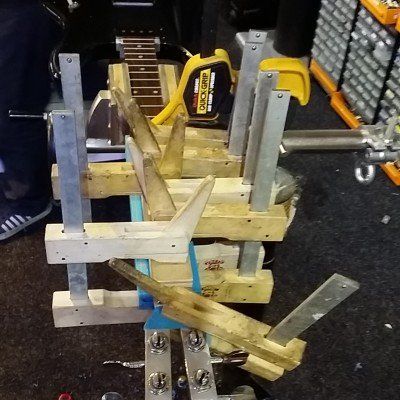
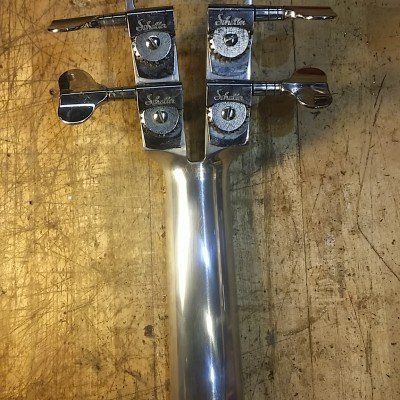
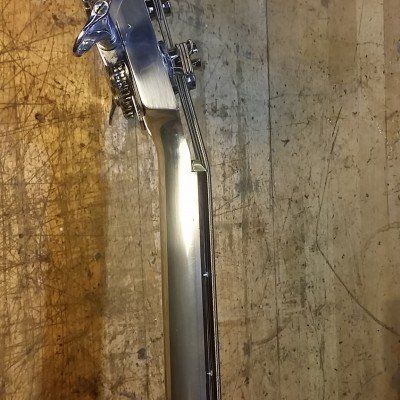
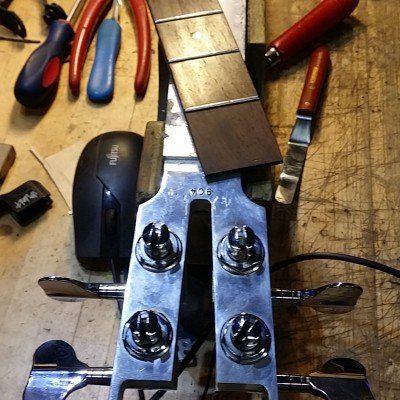
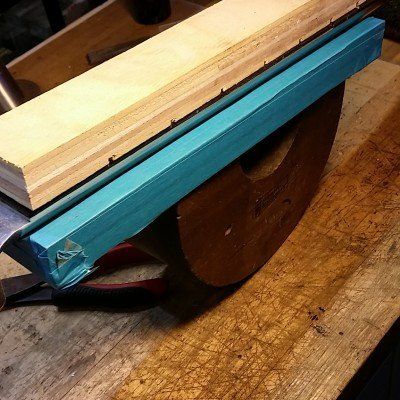
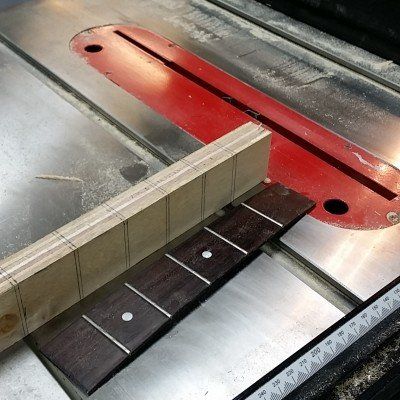
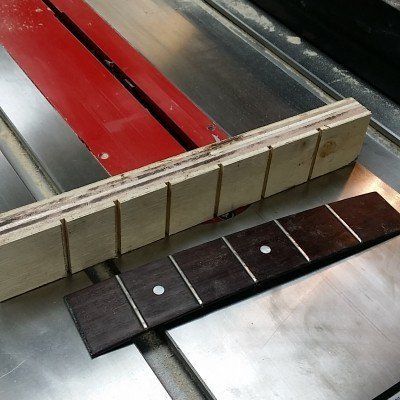
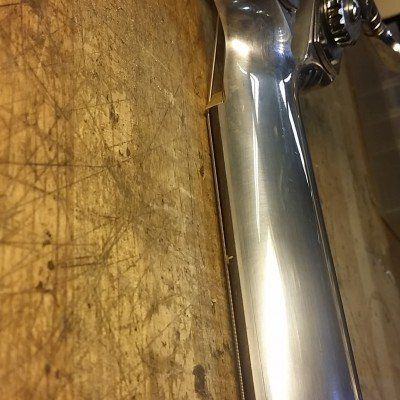
Back to the bass…. I easily broke the poor repair joint in fact it came free when the customer was in the shop! I was faced with a fingerboard that was half detached as you can see from the pics. Above the 7th fret, the fingerboard was perfect…the fretboard was glued solid. I could see that removing the entire fingerboard could be tricky and could potentially cause more damage…perhaps there was another way? The tang of the frets were almost entirely through this fingerboard…that helped me. I decided to remove the 7th fret, then cut the fingerboard cleanly through the fret slot. This enabled me to remove the loose fingerboard with a little persuasion. I could then clean both surfaces. I decided to retain the grey coloured epoxy on the underside of the board and only removed the damaged portions that had been scraped away or damaged by the previous poor repair.. Now I clamped the bass by its neck in my extremely versatile Ultimate Clamp…ensuring that it was exactly level and horizontal using a spirit level. I’m going to use a 2 pack epoxy glue to re-glue the fingerboard and it’s important that the thin glue doesn’t run to one edge during the process. I made a custom cawl in strong thick 25mm ply to ensure an even clamping force and accuracy. The gluing process was pretty straightforward really. It only left me to pop the fret back in after cleaning out the slot, then carry out a quick fret level and reprofile. I decided to give the bass a treat by polishing the aluminium neck in our industrial floor polisher…and it only remained to set the bass up!
An invisible repair with the instrument returned to its best!