


Fitting Period Correct Inlays to a Gibson Historic Custom Shop Les Paul

| Despite all the mystique Gibson promote their custom shop instruments with…they are, or at least their components are, to a large extent mass produced. This is evident in the very fingerboard inlays we will be replacing here. For a start the original, existing inlays just look bad even with a casual glance! The guitar looks great but there’s something not quite right. Theyre made from the wrong plastic, which is totally the wrong colour and if you look at the before and after pics here you can see that the corners of the inlays are rounded. The reason for this is that the recesses for the inlays on the fingerboard are routed by a CNC router fitted with a small radius router cutter. After machining, the corners of the rout end up with this radius and rather than square them out with a chisel, as they might have done in the good ole’ days, Gibson leave the radius right there and instead shape all the inlay sets (again machine cut) with the same radius at each corner of the crown. So I will be removing these bad inlays and replacing them, with a bit of skill, with good inlays. You can see the corners are sharp, as they should be…and…they’re the correct colour! So with a keen eye and a steady hand, I’ll square out the fingerboard with a very sharp chisel and fit the new inlays. I’m sure you’ll agree that the final result looks so much better! |
|
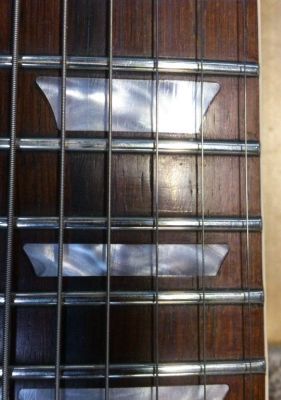
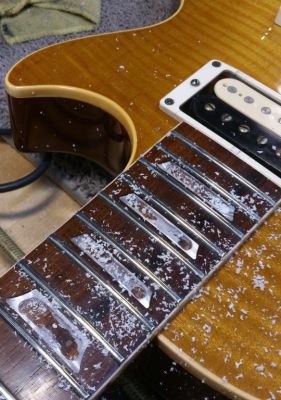
These are the original markers. There is a slight radius at each corner which is not historically correct so we're going to fix that. |
|
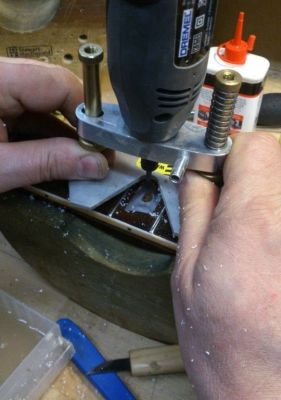
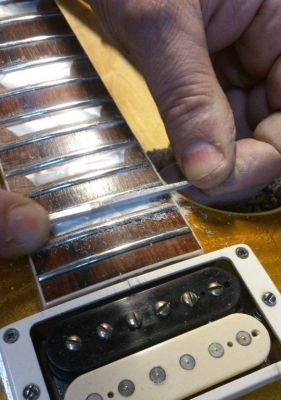
I'm using a dremel just like a mini router in a custom jig which aids precision. Just removing the centre by eye to facilitate removal of the inlay without damaging the fingerboard of the guitaR. |
|
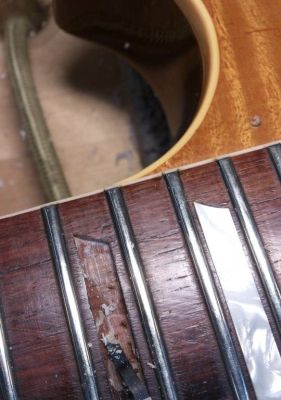
Now that I've removed the centre portion of the inlay, it is quite easy to remove. |
|
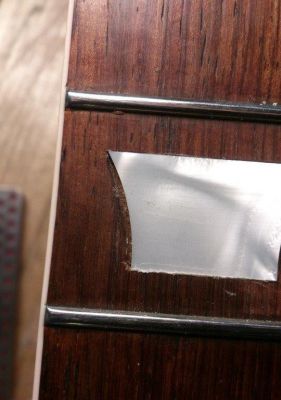
The inlay comes away cleanly |
|
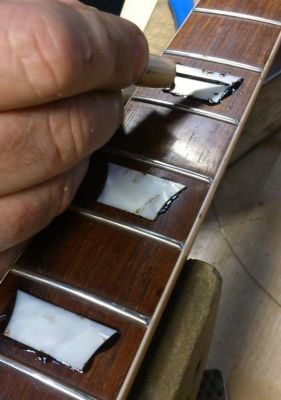
I carry on in this fashion until I remove all the original inlays. |
|
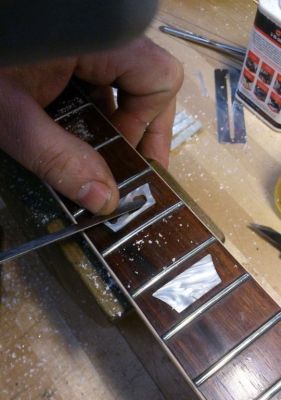
I'm now just checking the replacement inlays for fit. Although pretty good , they are not precise and the routing on the fingerboard will need to be carefully adjusted to suit. |

|
In the process I'm removing the old glue under the inlays. |
|
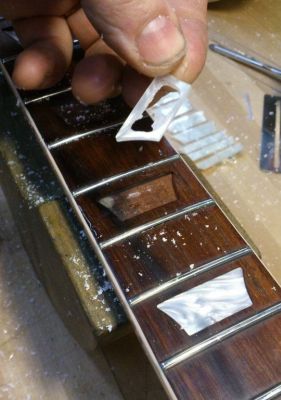
A couple of the inlays are slightly smaller than the receiving rout on the fingerboard. I searched though my scrap pile to find some rosewood that was a good match to the guitar's fingerboard. I then traced the shape required to correct the gap and cut it with a fretsaw. |

|
I'm now carefully fitting and placing the extra pieces of rosewood in place to check before gluing. |

|
You can just about see the added rosewood if you're looking for it and know it's there. |
|
Just placing the inlays and gluing them using coloured epoxy. |
|
I now file the inlays flush with the fingerboard. |
|
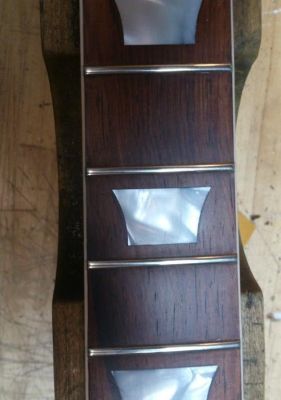
This is the finished guitar neck showing the new inlays in place |
|
The final product. |